Today’s crafting tip is super simple! It has to do with an important aspect of every crafter’s life nowadays – product photography.
Don’t take 30 photos where 10 will do.
You will end up spending more time picking and choosing pictures in post processing. Instead, think of views and angles. While shooting, plan which pictures you will use for shop listings, social media formats and so on. Consider different formats such as vertical, horizontal, and square, and make sure to position product in such a way that it can be cropped. It might be tough at first, but it will become a second nature with time and product photography will turn into a swift process.
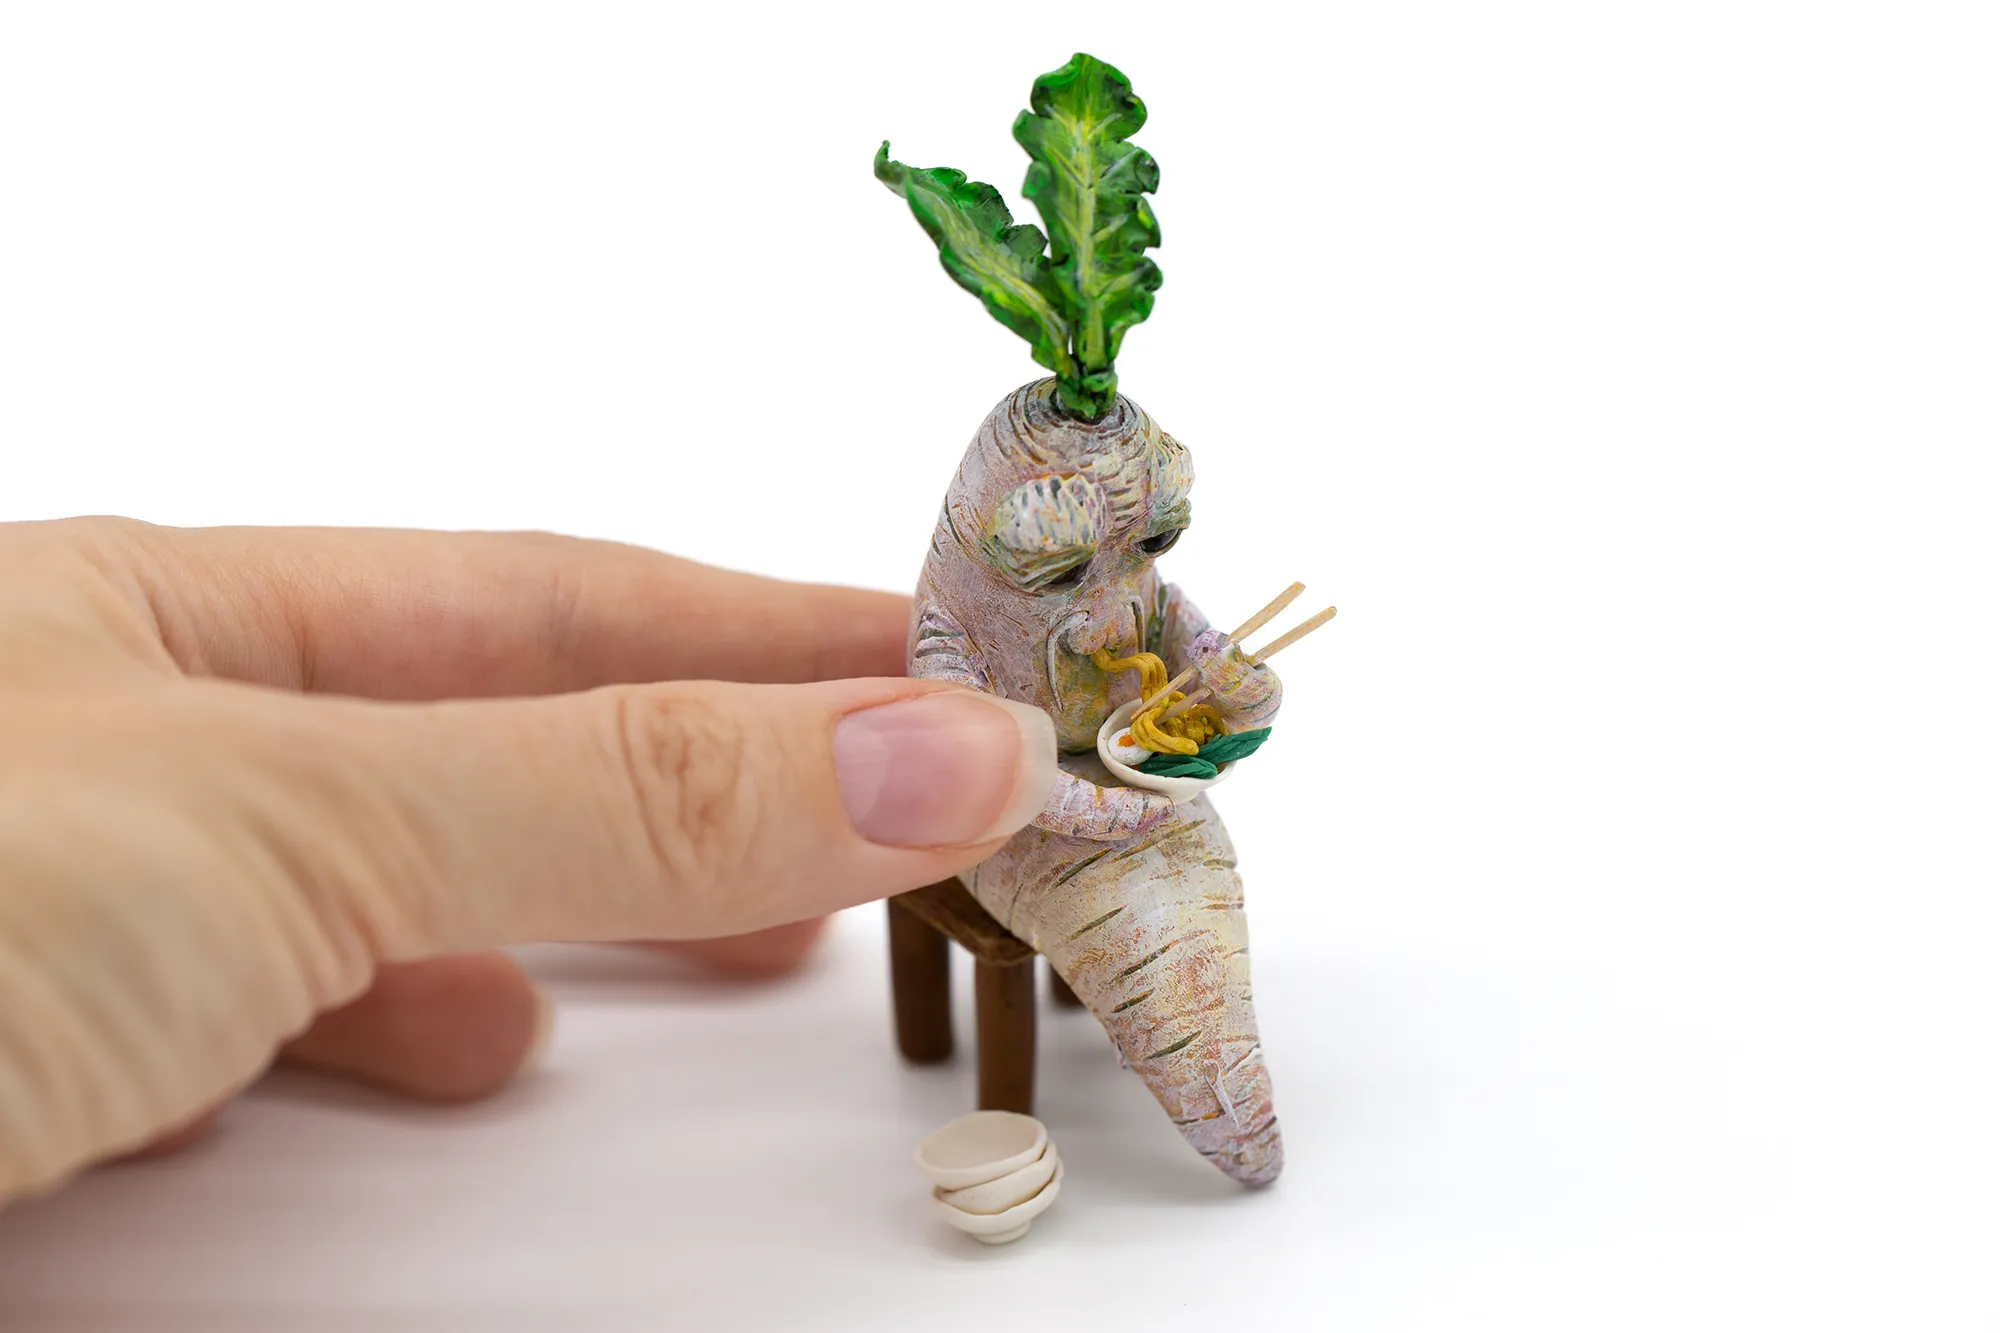
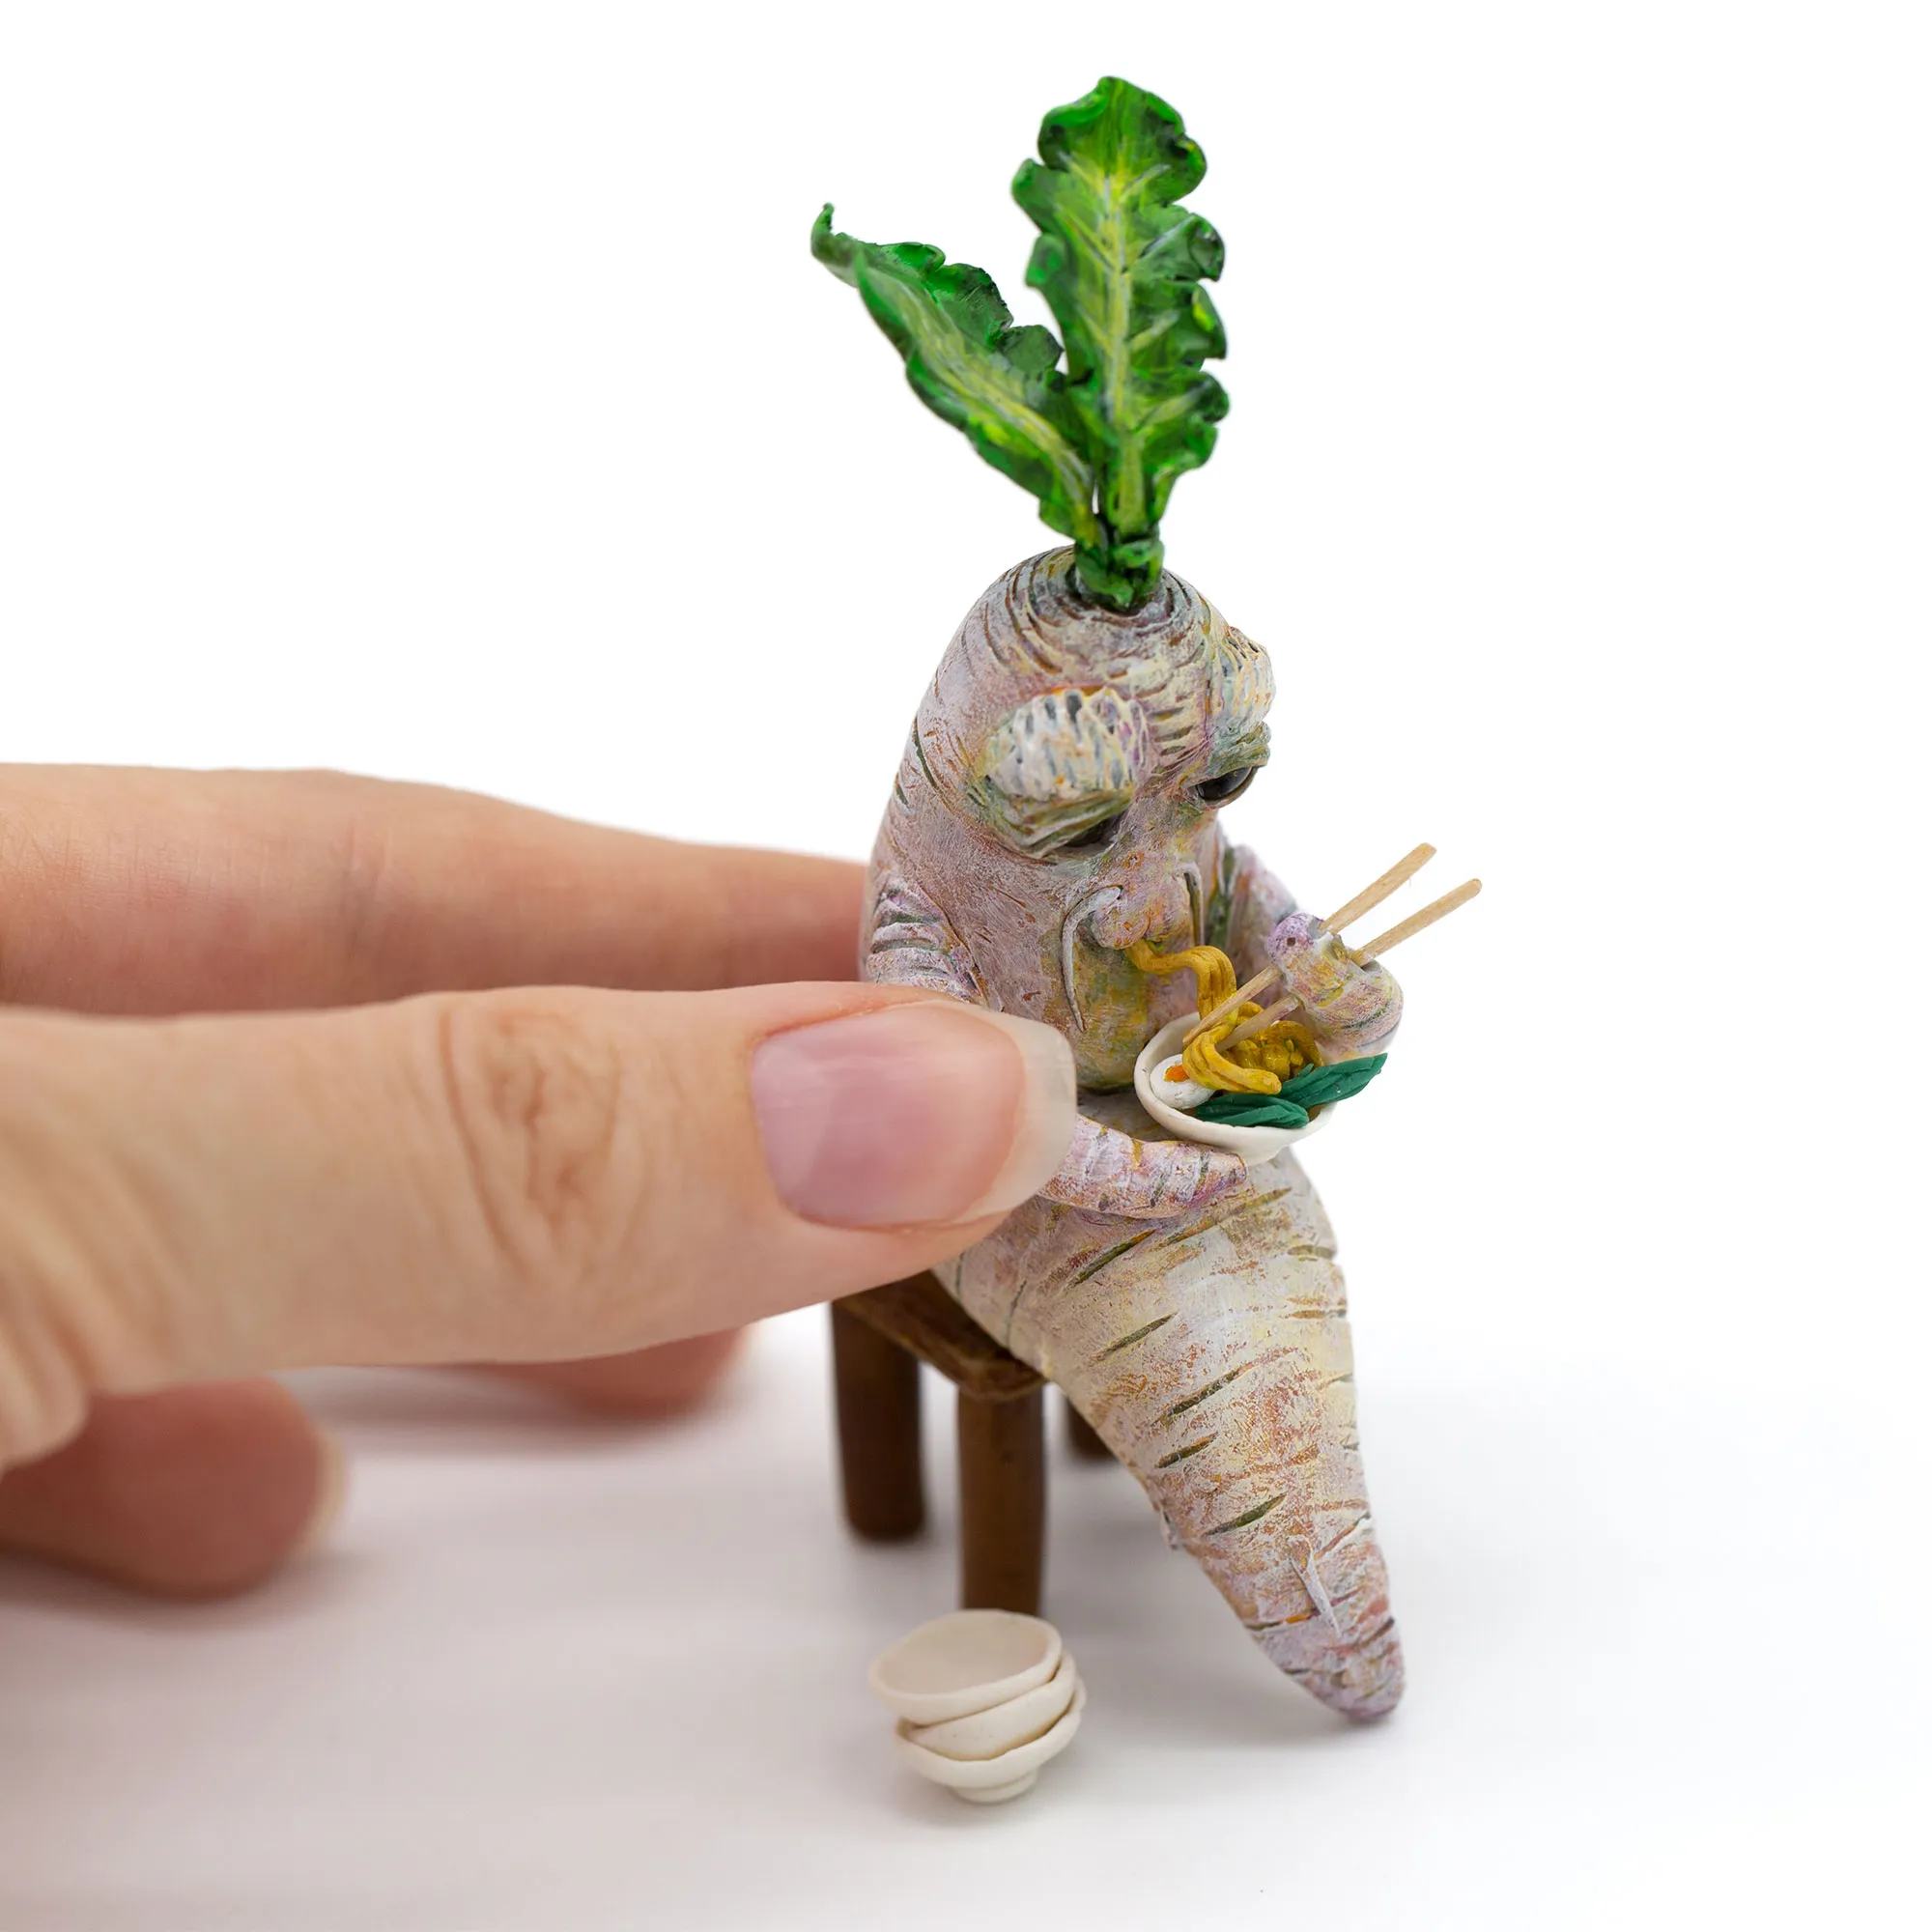
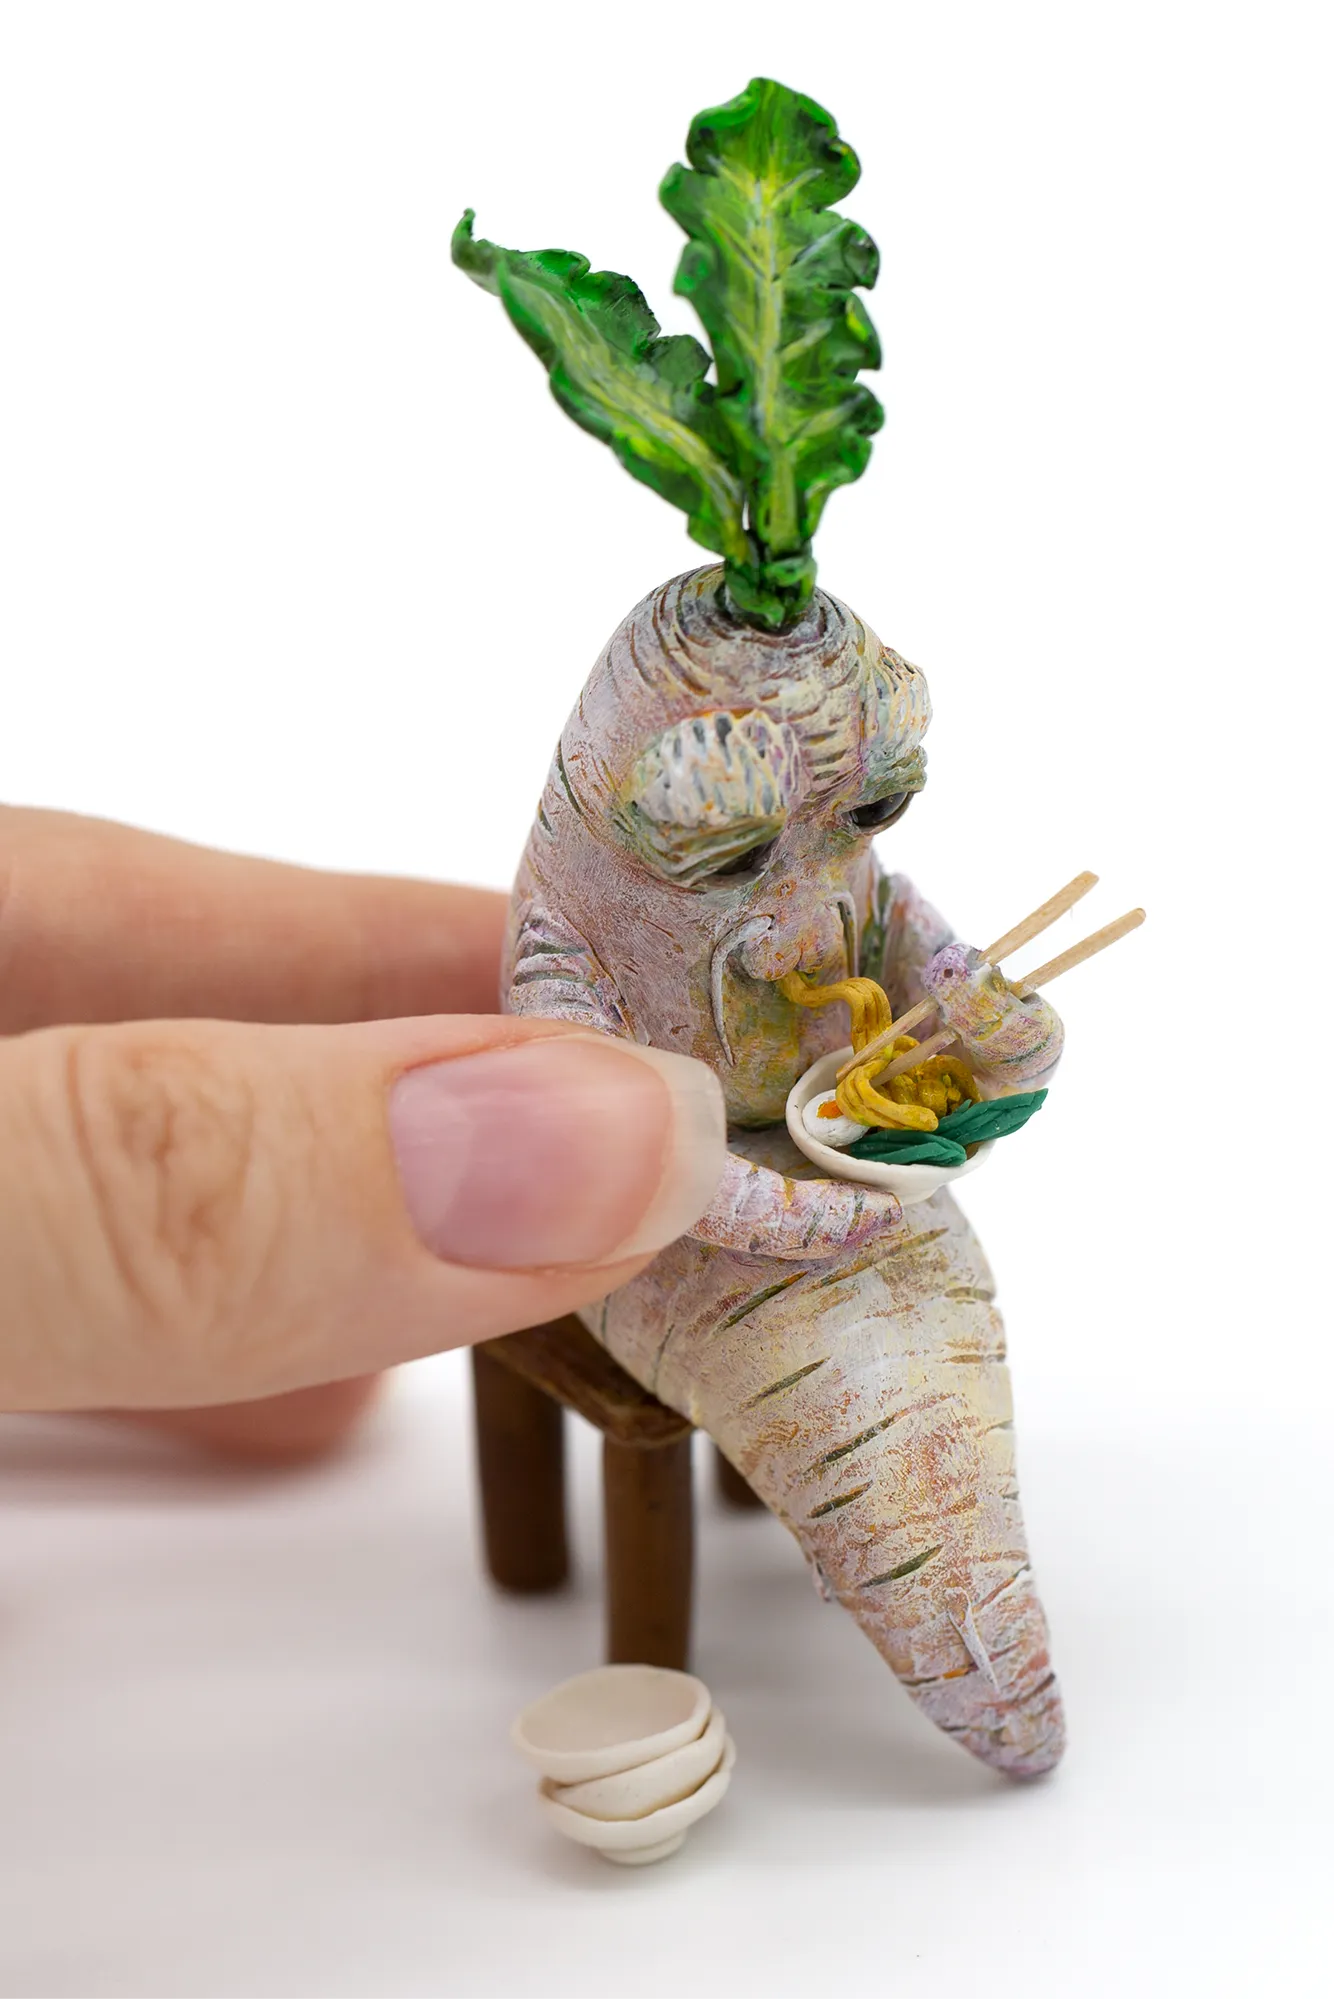
Here’s an example of my product photography. I took a picture of this daikon radish and then cropped it to fit different platforms. The square format is useful to display pictures in a circle, and vertical photos are great for Instagram stories or feed now. I usually take several more pictures from different angles and crop according to my needs. Hence, there were more of actual product pictures. This daikon radish is coming to my boutique soon, so you may see the rest of the pictures then. Meanwhile, you may look at any other product page in my boutique store for more examples!


If this tip helped you, please consider giving one in return!

Leave a Reply